

The biggest development on the Moel Rhos in the past few years has been the acquisition by the railway’s workshops of its first 3D printer.
This turned up in December 2020. At the time, as I wrote on the Garden Rails forum, I was “a complete newbie to 3D printing”. I also discussed why I’d bought it:
“the particular printer I’ve bought – a Flashforge Adventurer 3… it suits my needs rather well: it is considerably pricier than the cheapest printers you can get now but it requires very little configuring to get going”
The choice was inspired by a friend who had the same model, who had produced amazing models with it already, and who was kind enough to guide me through the learning process. It’s a filament printer, which means it heats plastic filaments and then deposits it in layers, which it gradually builds up. The most common type of filament in home printers is called PLA, but this printer can also print ABS because it is enclosed. ABS has a higher print temperature, parts can easily by glued by ‘solvent welding’ them with acetone, and the ABS resolution is marginally better.
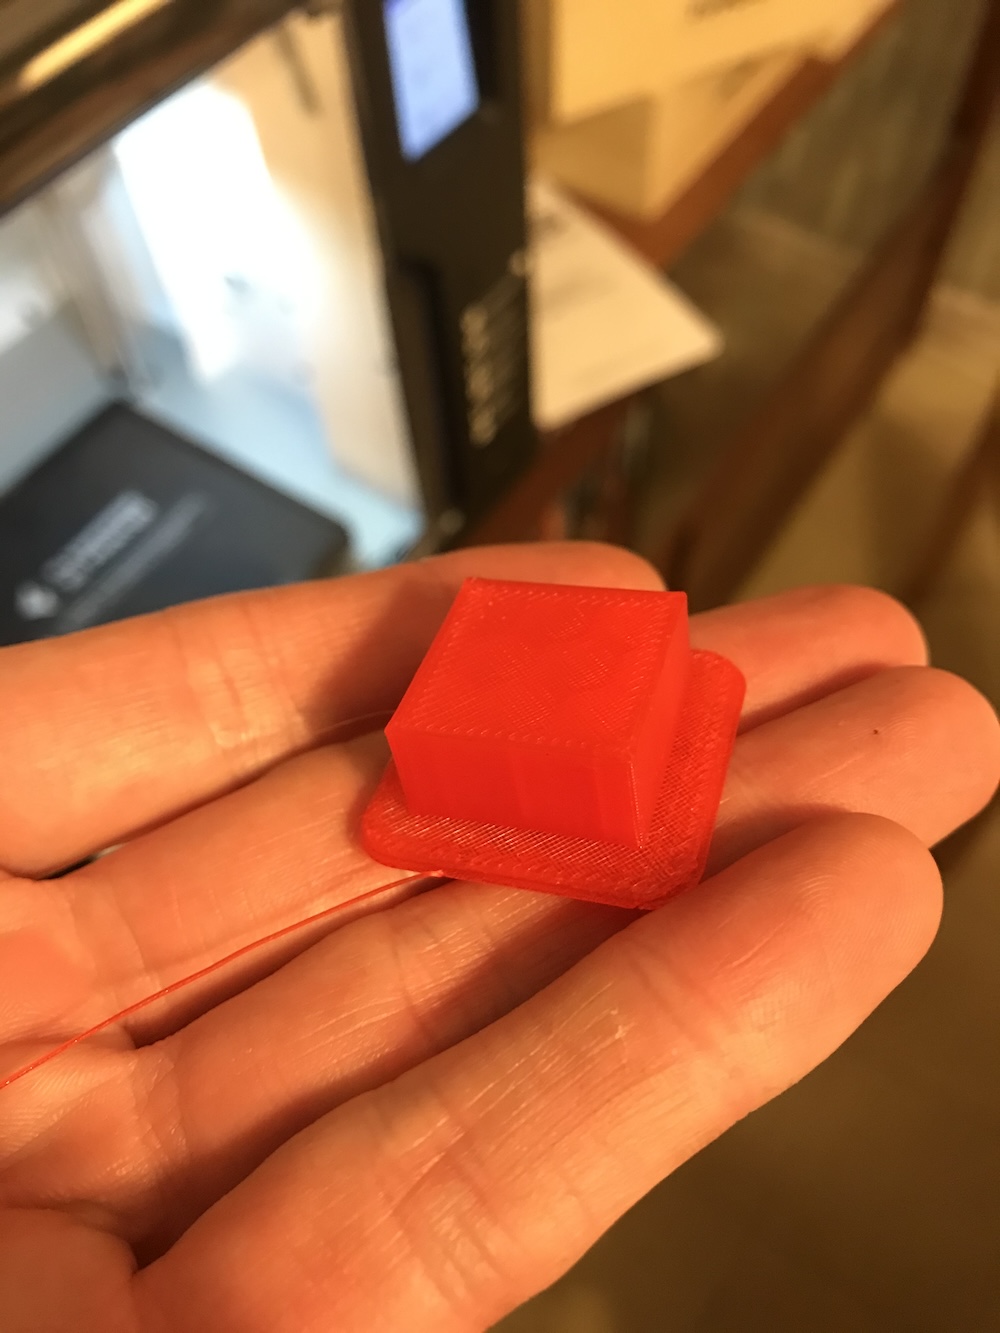
“I got it out out of the box – plugged it in, load the supplied filament, and pressed a couple of buttons and within minutes it had started printing its built-in test print called “20mm cube”. You can probably guess what it looks like…”
One of the first things most new printers seem to print are new parts for the printer. Mine was no exception. The it comes with a compartment that will hold 500g filament reels, most filament comes on 1kg reels. It’s much cheaper, and while you can rewind the filament onto the smaller reels, it’s much easier to print out a holder for the 1kg reels which is what you can see being printed in the main image on this post.
“To print something a bit more interesting, I needed it to talk to my computer (which can talk to the internet and hence the Thingiverse…) This requires a few more button presses on the printer menu to get it on the wifi (taking note of the IP address) and downloading and installing Flashprint on the laptop (and inputting that IP address). Then I downloaded [a] milk churn from Thingiverse imported into Flashprint, which is slicing software for taking 3D (virtual) models and converting them for the printer. Again it’s literally a couple of clicks to set things up and then hit ‘send’ and the printer starts warming up to print…”
The benefits of a 3D printer for modelling are probably obvious – you can produce small, detailed objects in various shapes, and you can replicate them with a touch of a button.
The two most obvious drawbacks are: you need to draw what you want to model (in 3D design software) and because filament printers print by depositing layers of material, there is a visible grain.
One shortcut around the first solution is to print someone else’s drawing – that why I refer to downloading a (drawing of) a milk churn from Thingiverse. This is an online repository of many drawings, a few of which are designed or may be adapted for garden railway use. There are now many more drawings specifically for garden railway use you can access as a member on the Garden Rails forum. And in future posts I will describe some of the drawings I have made myself and how I have made them.
The grain issue I was interested to explore. Some work in finishing (with ‘filler primer’ paint and sanding) can minimise this, but the first thing is to optimise the printer settings to get the smoothest surface you can. When printing in 3D you can’t print onto air – so sometimes you need to print ‘supports’ for overhanging parts, so I was testing this as well.
“I printed the churn out several times with different settings to try to get a sense of the printer and what difference these made – standard resolution vs high (or even ‘hyper’), with/without supports, different types of filament (PLA/ABS). Fortunately they were all usable (as I need some milk churns!) though with noticeable minor differences. Probably too minor to photograph well until I put some primer on them, but anyway, here’s what they look like straight out of the printer”


I don’t want to give the impression it’s easy or frustration free, though. When you get things wrong, at the end of the print time you can find yourself coming back to a box of spaghetti….

Leave a Reply